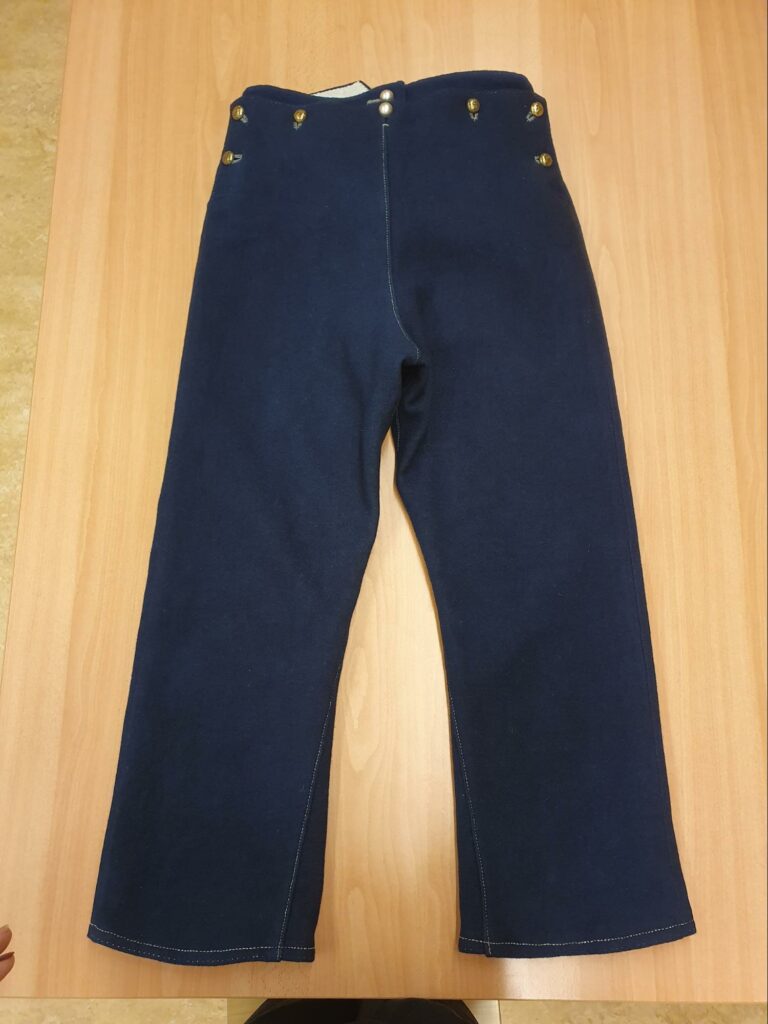
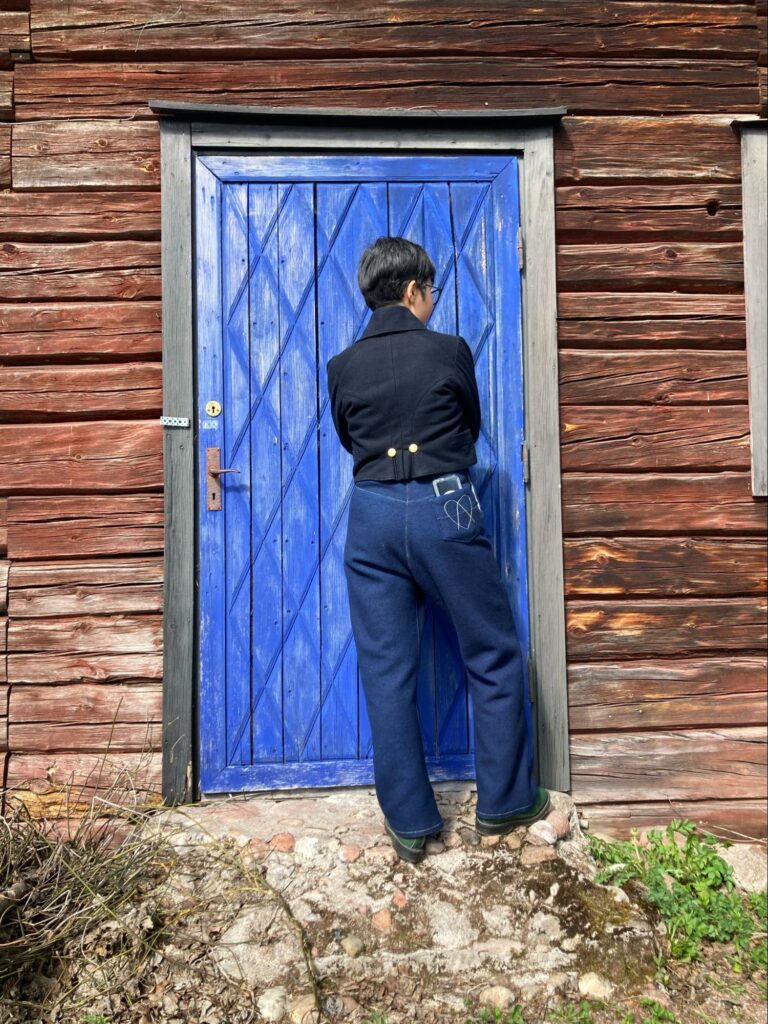
This is an excerpt from my project report Make Living Tradition Alive Again. It’s my second year’s final project in the sewing class at Sätergläntan. The project entails analyzing a piece of historical garment and making a new garment based on it.
White linen long trousers
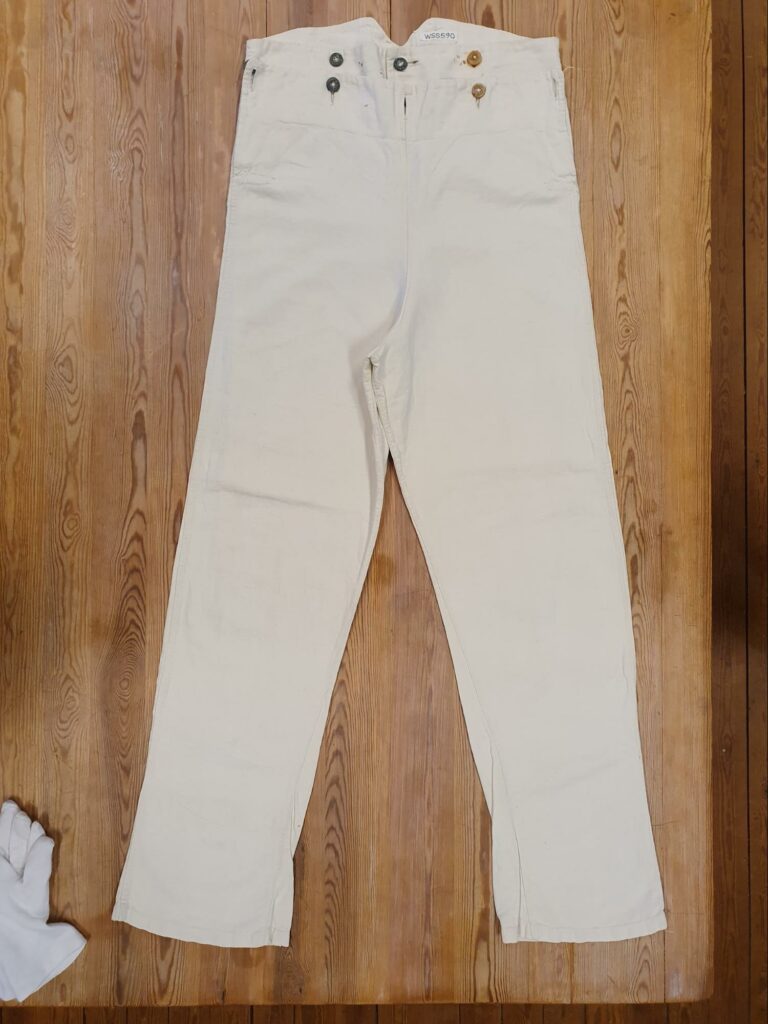
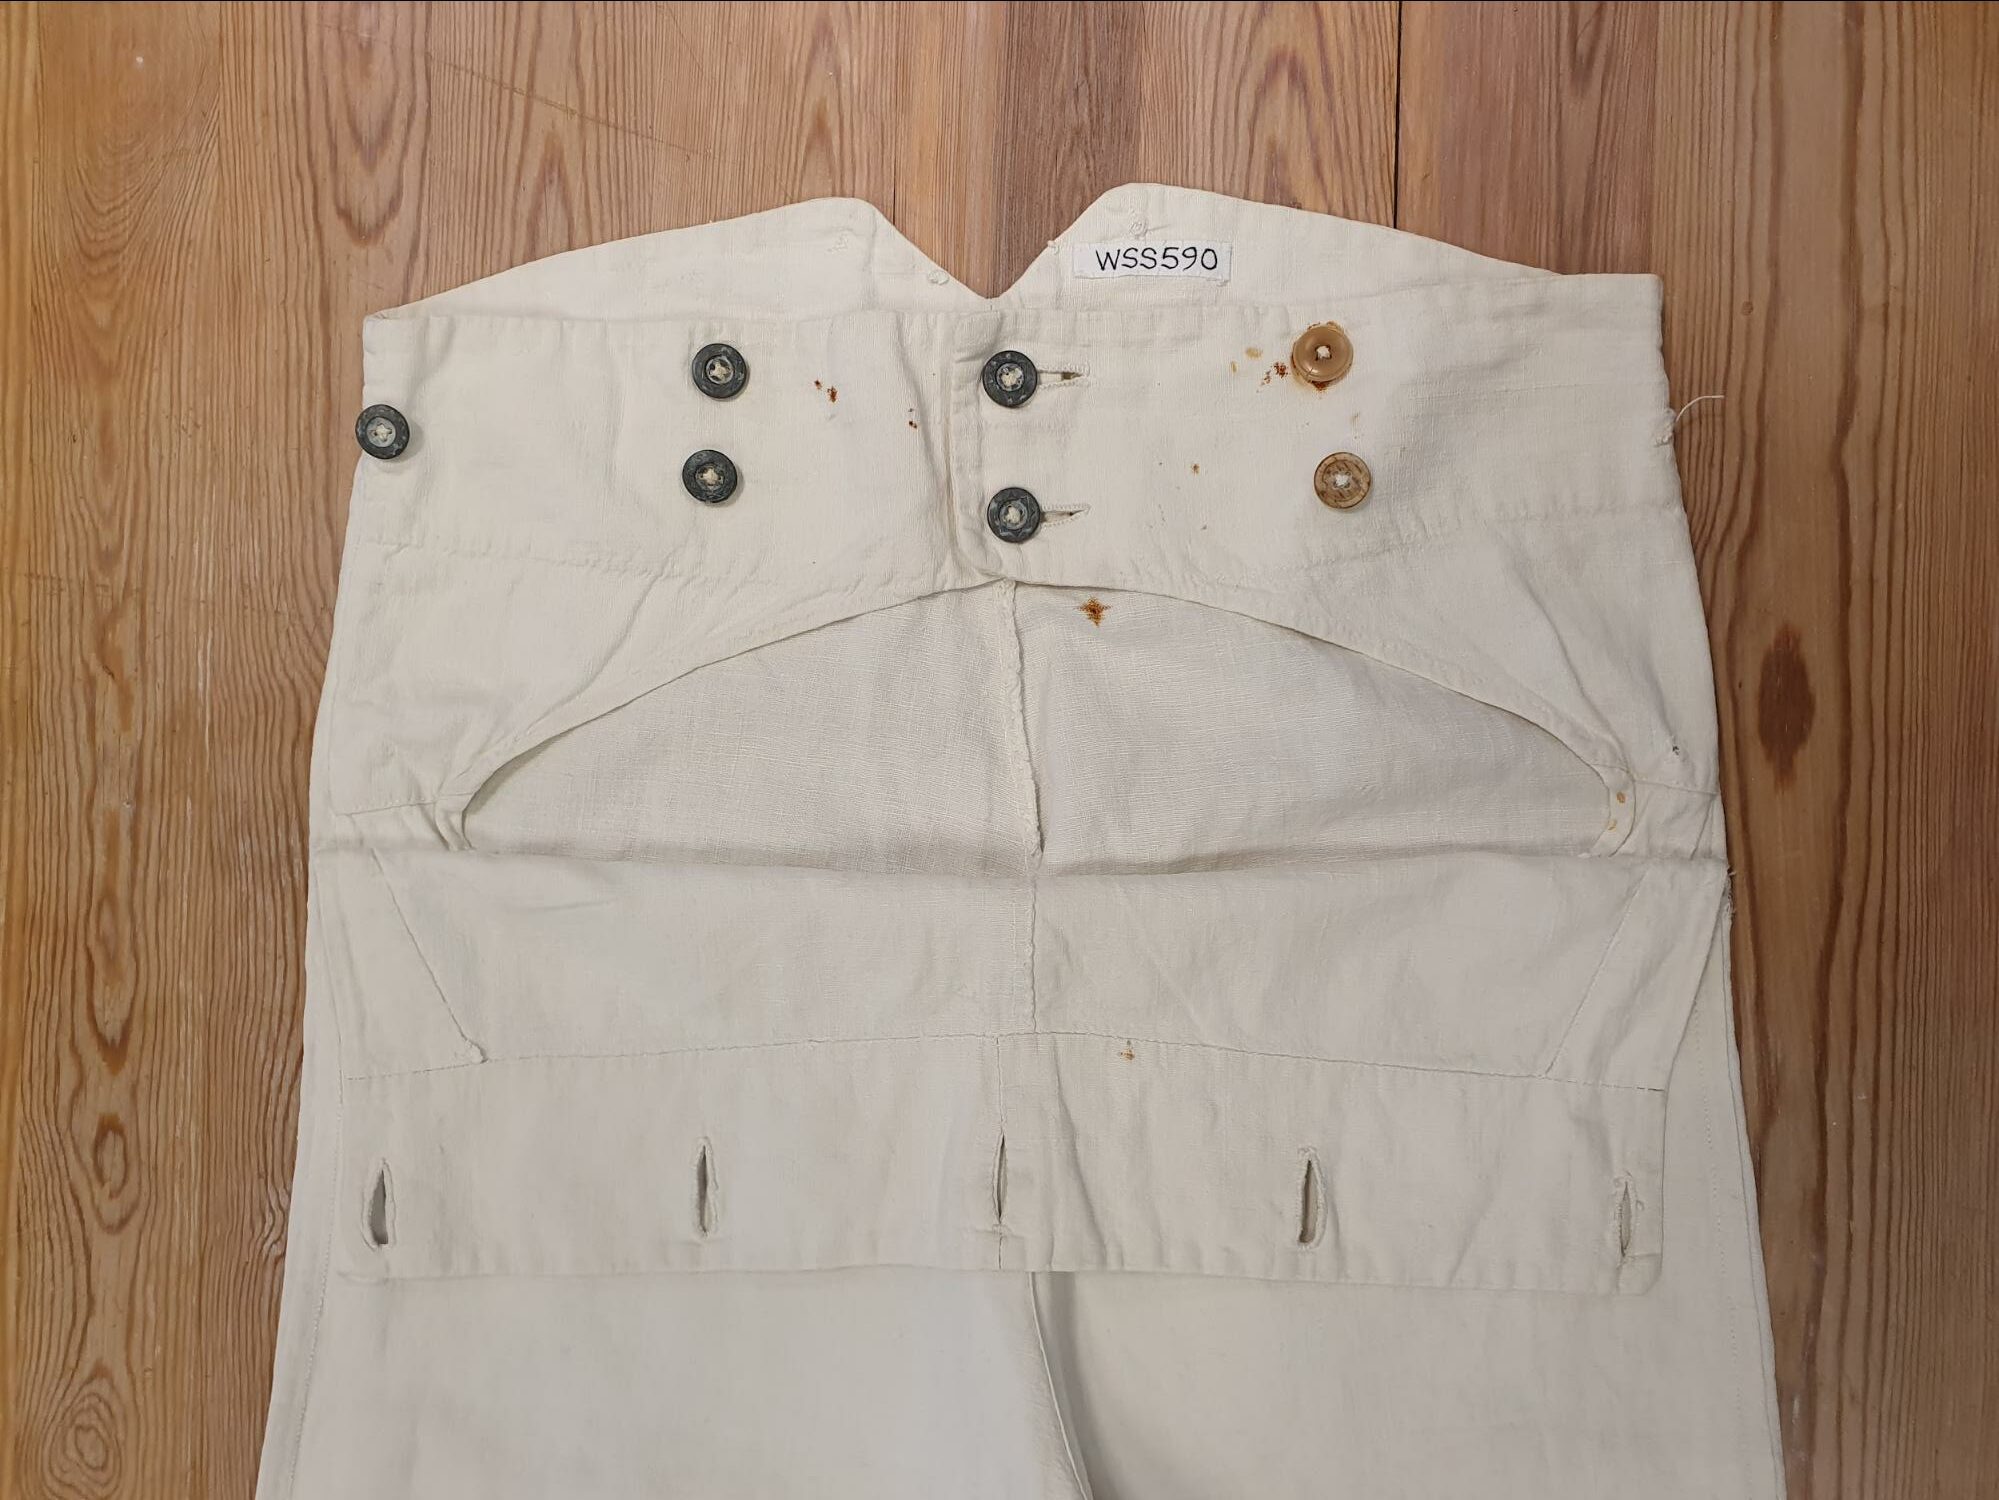
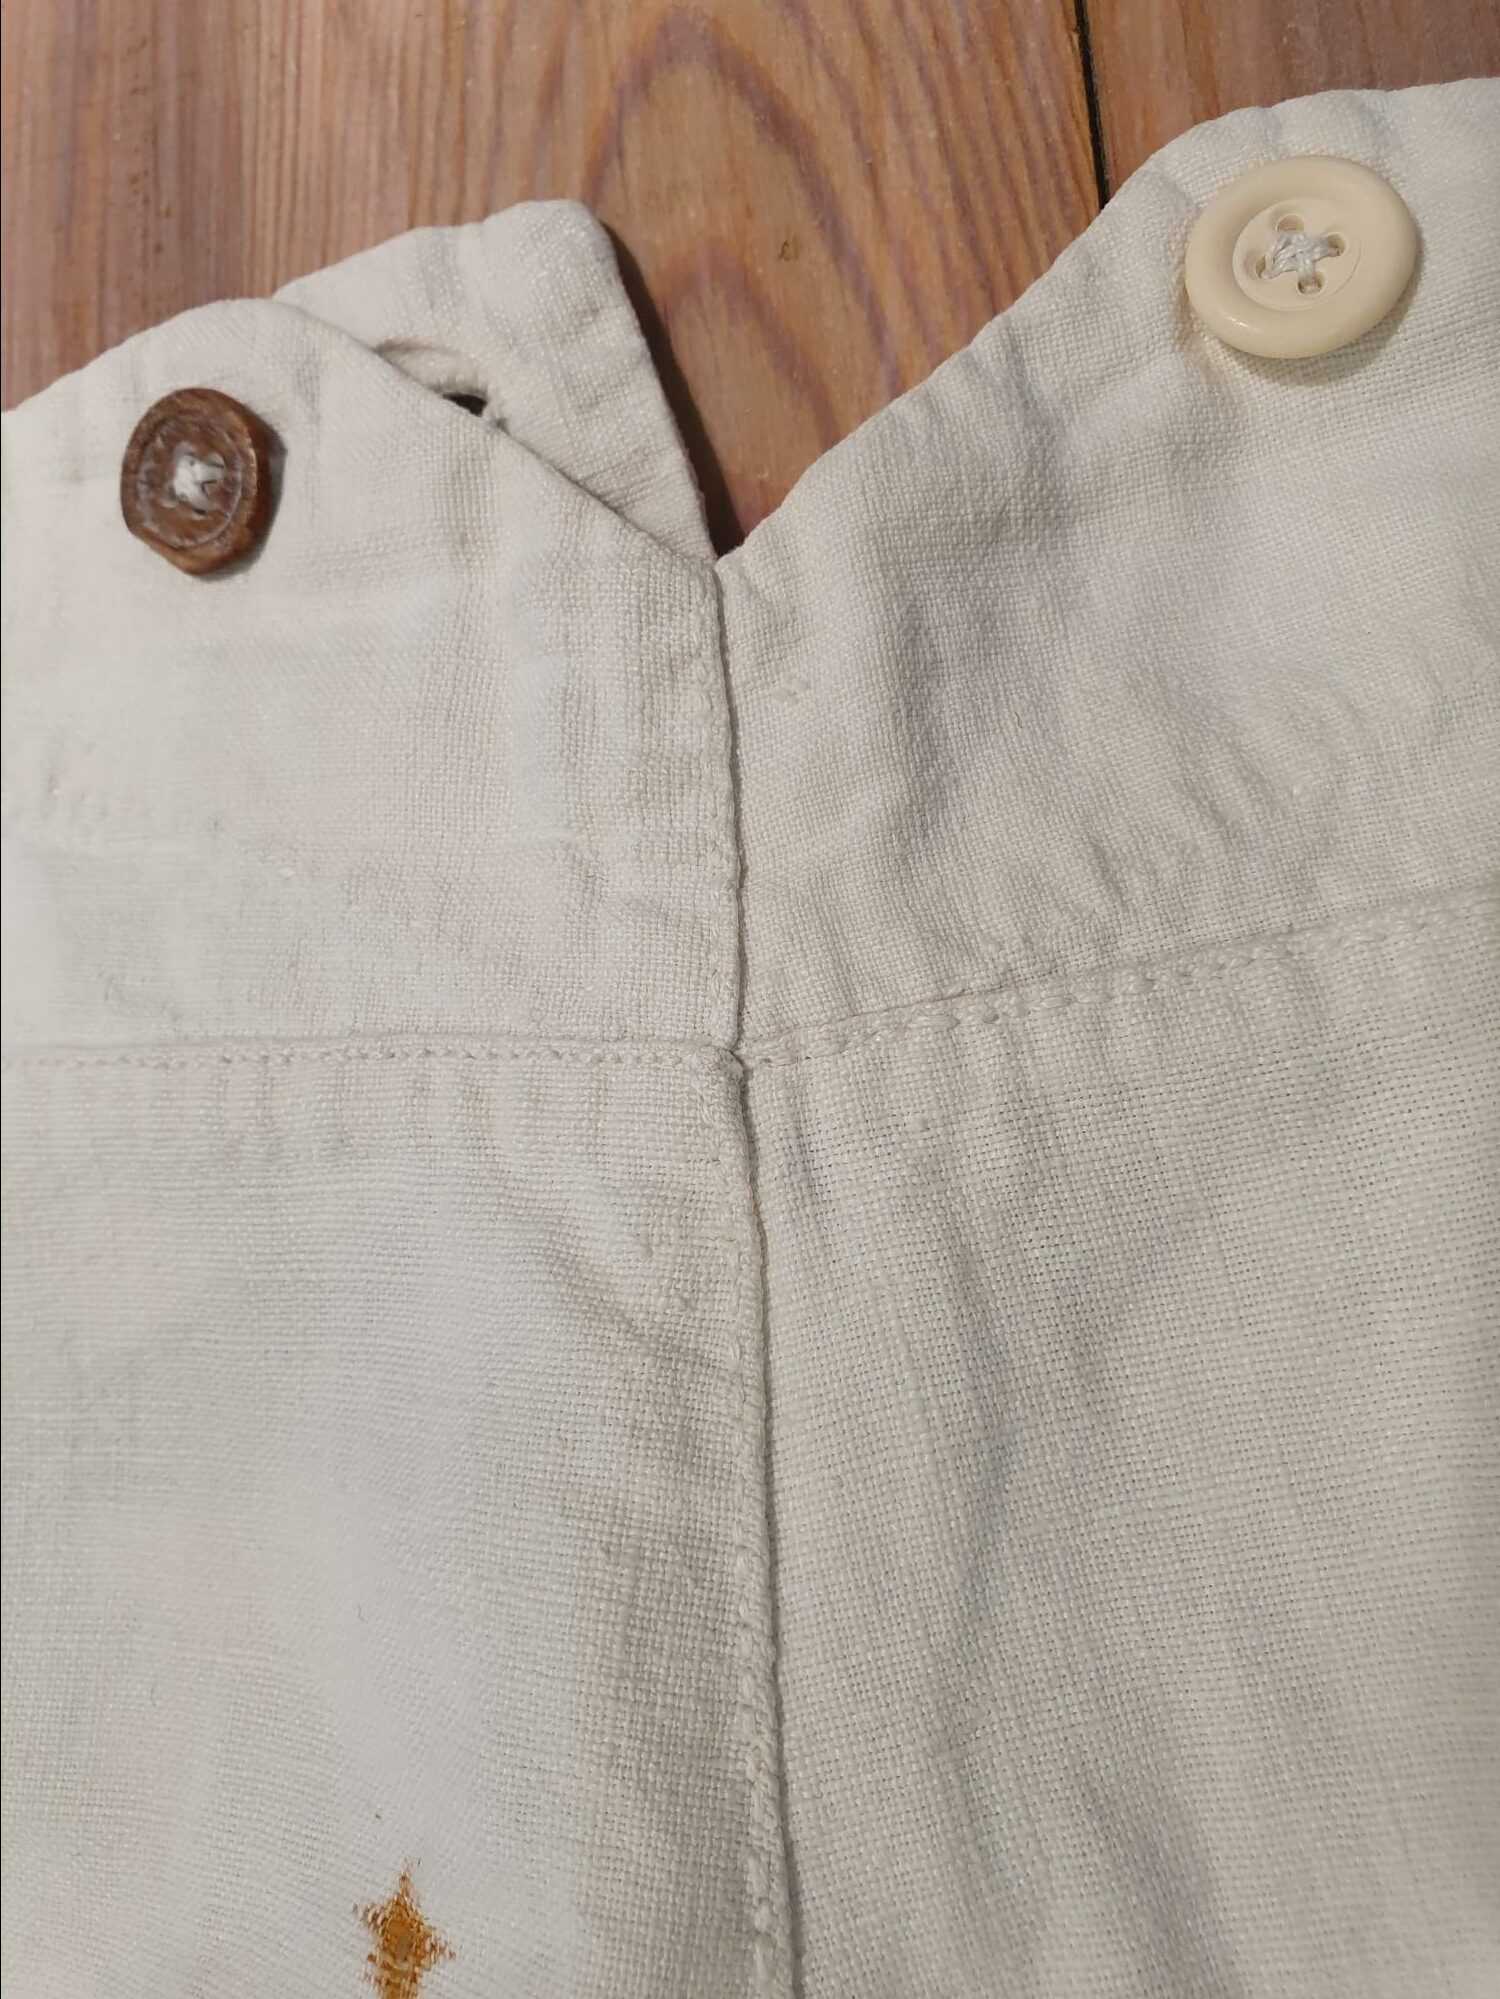
The original garment is a pair of long trousers from Mora of Dalarna, hand sewn in bleached linen fabric with matching thread. The item is part of Sätergläntan’s collection (WSS590), it’s believed to be used during the first half of 1800s, as work wear during Summer.
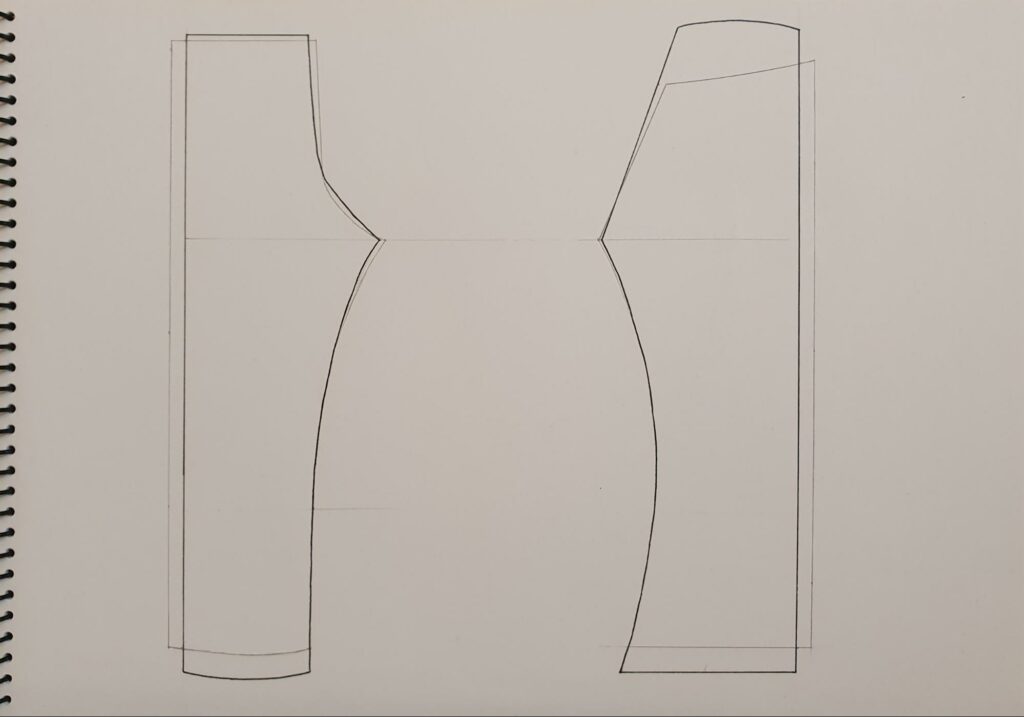
The construction above the knee is generally the same as folklig knäbyxa: livgjord close by buttons at the center front; luckan of the same width as the front piece; side seams entirely straight. From about the knee point down, the front leg piece tapers down and ends with a noticeably curved hem, while the back leg piece flares out and wraps over to the front. The result is a flared hem, which would be described as “bell bottom” today. The back leg pieces are cut with selvedge, but the selvedges of both legs are cut off from about 31 cm over the hem.
Reflections on the documentation process
I didn’t expect anything interesting from this pair of trousers when I started measuring it, and was proven very wrong once I noticed the tapering at the front piece, the flare, and the cut off selvedge. The cuts were identical on both legs which indicates intention, but WHY? I felt offended as a hand sewer: the original maker better had a solid reason to commit this crime against everything I knew about selvedge and I better FIND OUT.
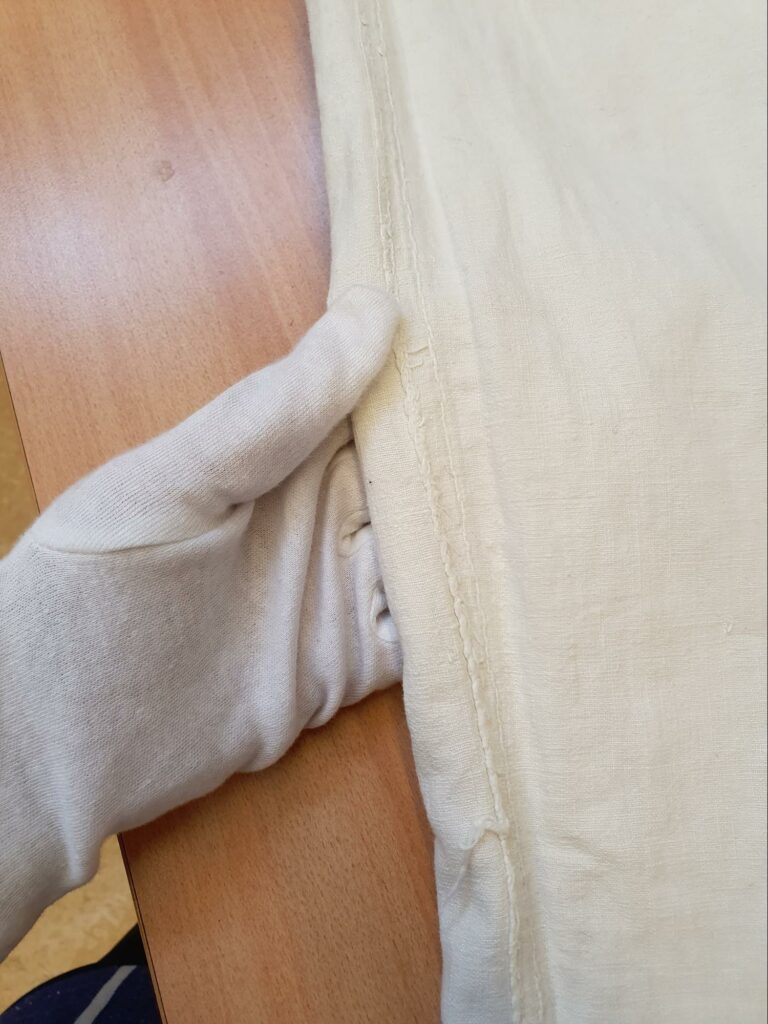
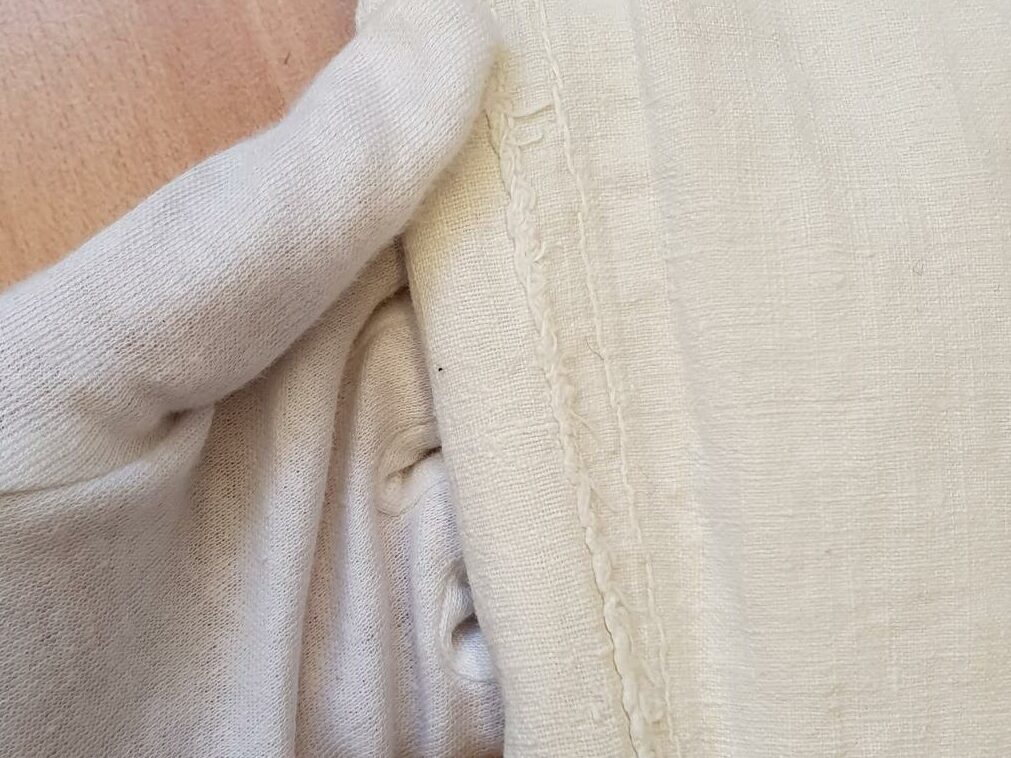
In order to understand the original garment better, as well as to make sure that my measuring was correct, I made a mock-up based on the measurements I took from the original with plain fabric. One leg is sewn with straight side seam and selvedge all the way down, the other with the selvedge cut off exactly like the original.
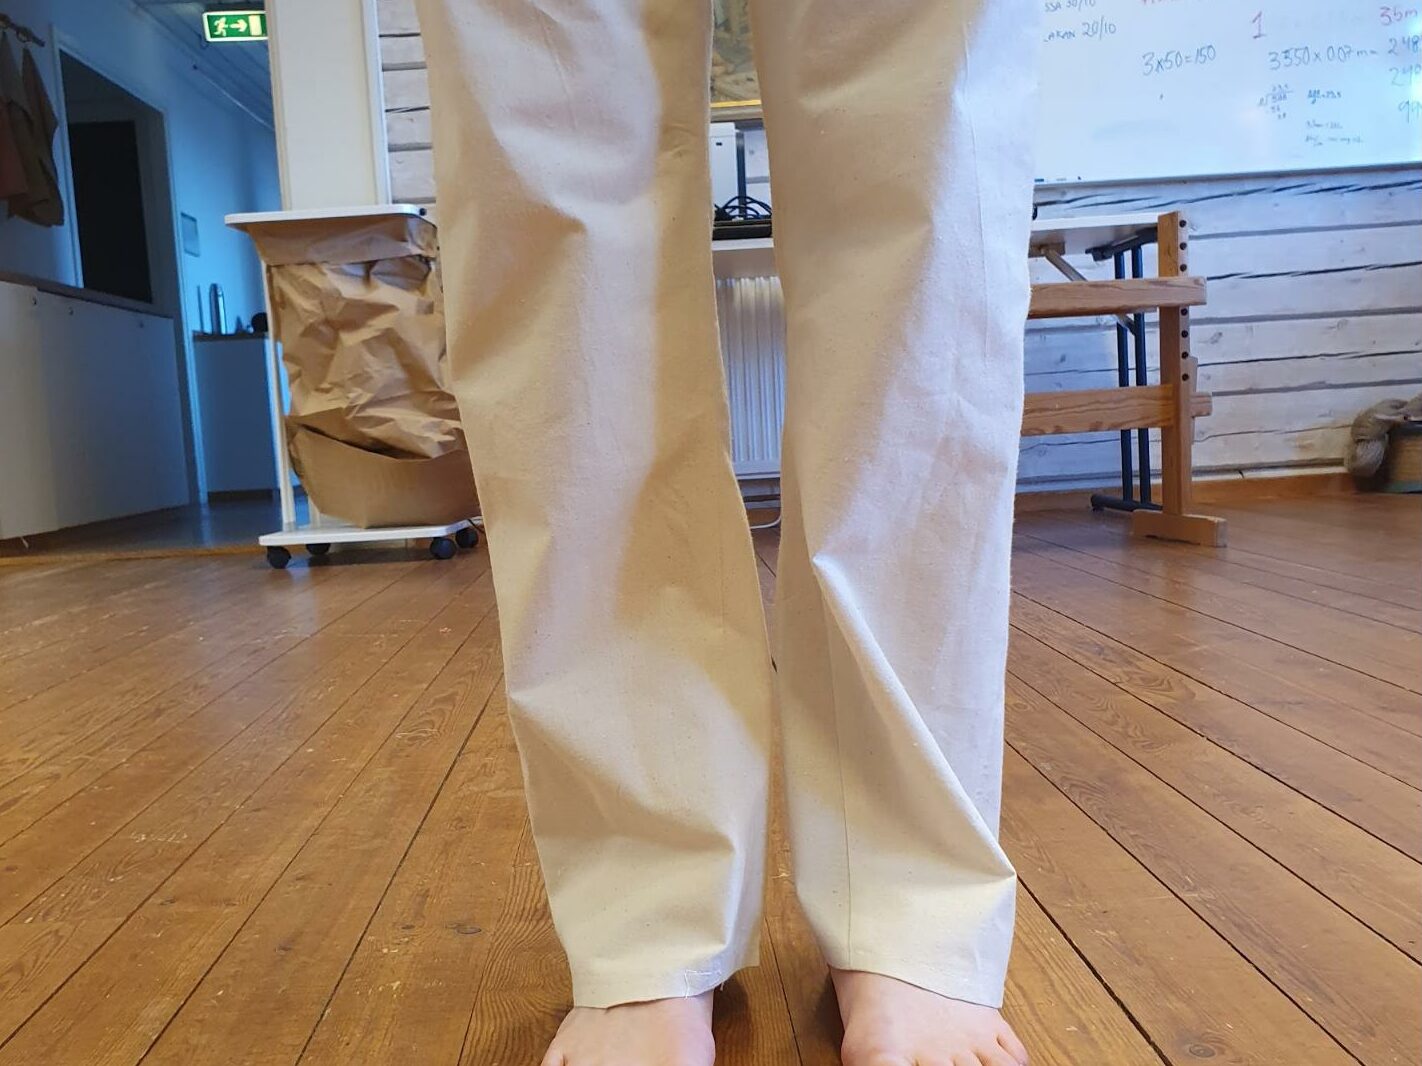
The difference is subtle but surprisingly noticeable. As seen in image 2, on the right side of image is the leg with full selvedge all the way down, which results in a stiff side seam that pushes towards inside ever so slightly; on the left side is the leg with selvedge cut off, resulting in a softer drape and much more balanced shape.
Blue, blue, blue
Det luktar lagom illa
I have very limited experience with indigo dye, enough to follow a plan but not enough to come up with one. The first test dye is to get more comfortable with the process, and to have a general idea of how plant-based indigo from this particular supplier looks on my final fabric.
I choose to use chemical process for this first round of my test dye, it’s quick, reliable, and requires much less indigo than natural process. The downside is that the chemicals are quite strong, so the general practice is not to dip the material for more than 30 minutes in total.
The sample looked nice but I decided not to use chemical process for my final dye for two reasons: the process is unpleasant, both to me and probably to the fabric too; 30 minutes total dipping time might limit my options, since I have to dye my fabric in multiple pieces, I’ll need more rounds of dipping to get an even color among all pieces.
Everything is more fun when you add banana
Indigo dye with banana has almost an urban legend statues. It sounds real enough that you won’t dismiss it as a valid method but impractical enough for it to never be a real option for a quick school project. It would make more sense if we had banana as a local fruit, or if I got them from dumpster diving, not much when they were shipped from another continent all the way to my local grocery store. The true cost of bananas is often much more than what the price tag indicates. However, I ran into this entire cart of ripped banana at Ica Nära, sold at 10 kr/kg and they were clearly on their way to the dumpsters. This made a test dye with bananas ethically acceptable for me.
Banana reduced dye bath requires exceptionally long dipping time: up to 1 hour for the first dip, 15 – 30 minutes for the following ones (Neumüller, 2017). The downside though, like all other natural method with calcium hydroxide, the dye bath would have a layer of sediment at the bottom, I’ll need a set-up to prevent my fabric from touching the sediment while sitting in the dye bath, to avoid patches of intense dark color.
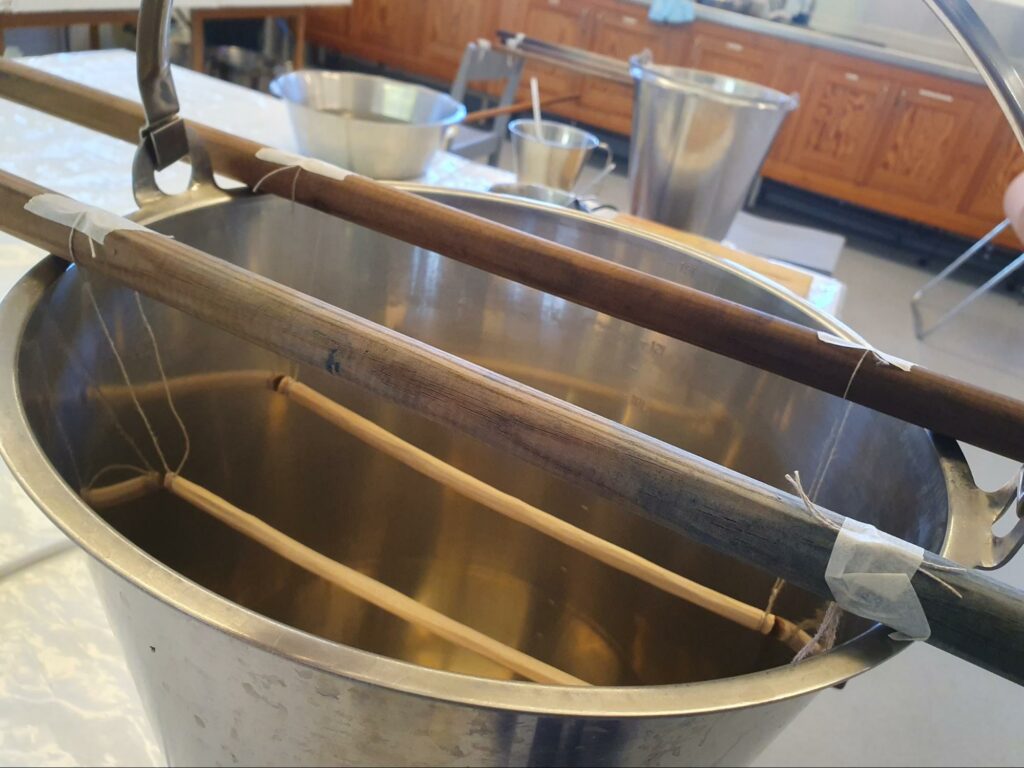
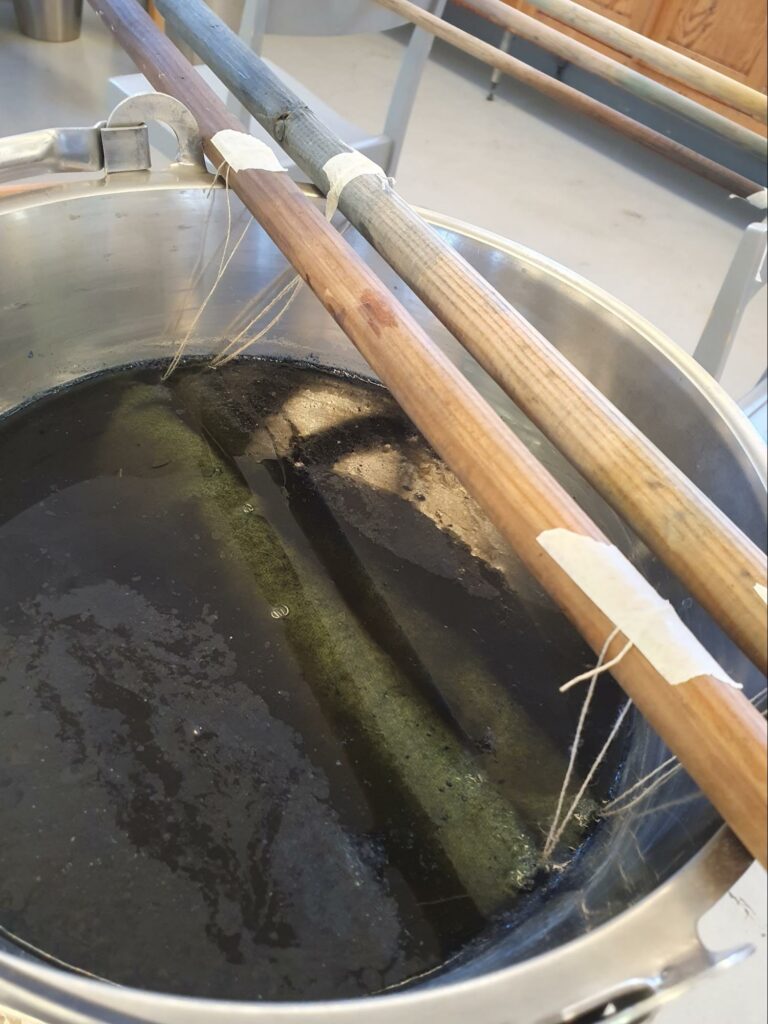
First attempt was to hang the fabric on wood sticks, as shown in image 3. This failed on multiple front: the end of my fabric piece still touched sediment and became very dark, while the part on the sticks couldn’t stay under the surface and got much lighter color, the sticks also made it impossible to move the fabric in the bath properly which led to some white spots caused by trapped air bubbles.
I’ll need something to sit near the bottom to separate sediment layer from the rest so I could work properly, foldable steam racks made of metal turned out to be suitable. I used one in my dye bucket for the rest of this round, the color of my test piece evened out after two more dipping, but the edges were still noticeably darker than the rest.
Trust the process
The dye bath for the real deal has to be 40L, which is the largest dye bath possible at school if heating is needed. My schoolmate Sofia Carlsen had a much lager dye bath since her material was linen, which can be dyed at room temperature (Carlsen, 2023). For wool on the other hand, the dye bath has to be between 45℃ – 55℃, so I need a set-up that allows me to heat the dye bath up whenever needed.
For the final operation, I used the famous 1-2-3 method by Michel Garcia (Neumüller, 2017). It’s widely used and the materials are fairly easy to get. I used 160g indigo powder for 40L dye bath, it’s a medium strength but a deeper color can be achieved by multiple dippings.
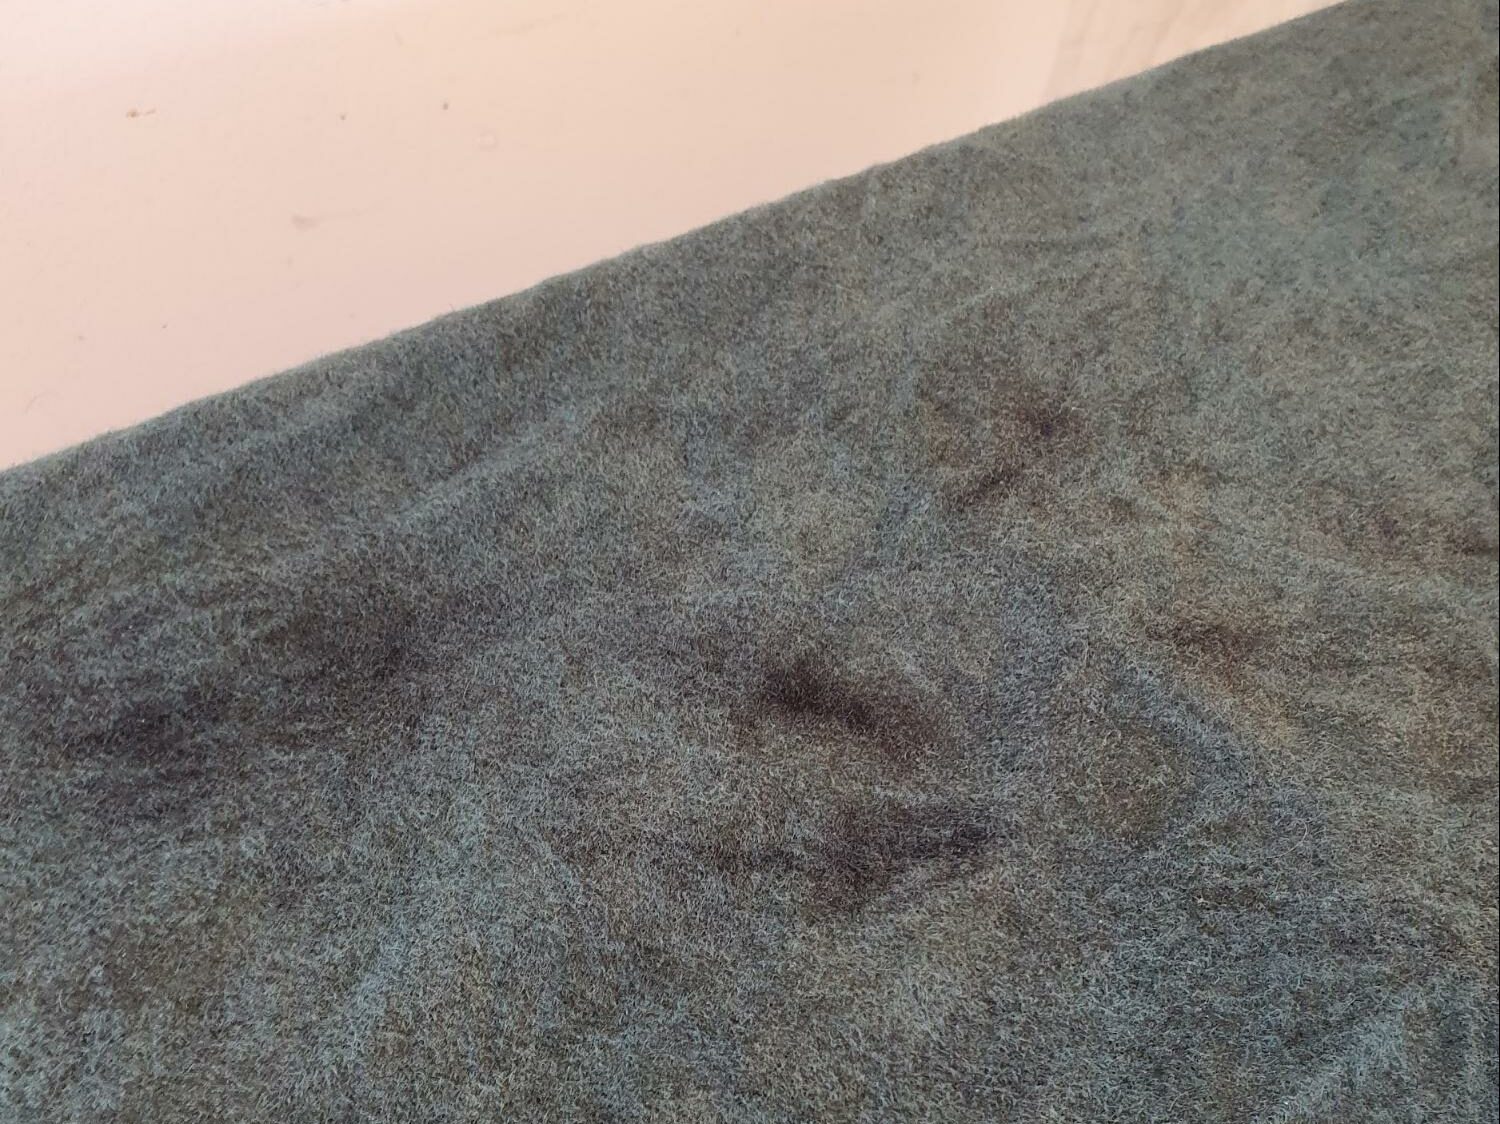
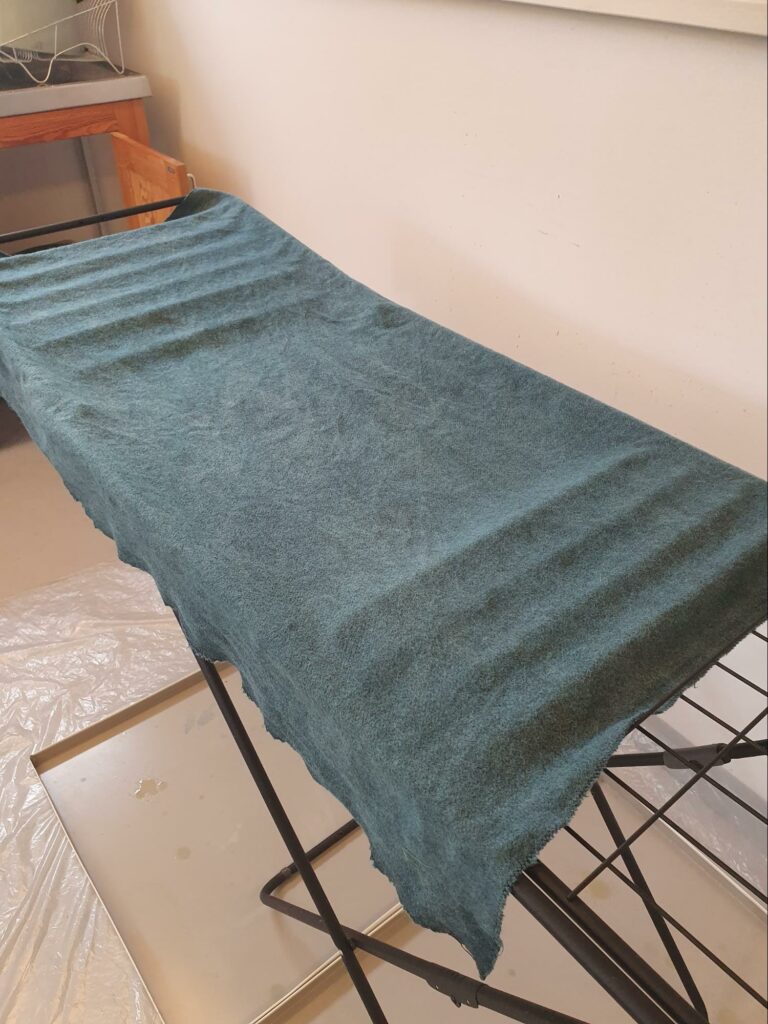
I won’t say I didn’t freak out a little when the fabric turned out patchy and color very weak. Indigo, especially with the natural method, has it’s own mind, all we can do is to trust the process and give it loads of time and as little oxygen as possible.
The color became closer and closer to true, deep indigo with each dipping. I also learned to let the dye bath rest and settle between dips, even did multiple big stirs to re-activate it. In the end, I was happy with the color after the 11th round of dipping. (See appendix 4.)
To pre-cut the fabric
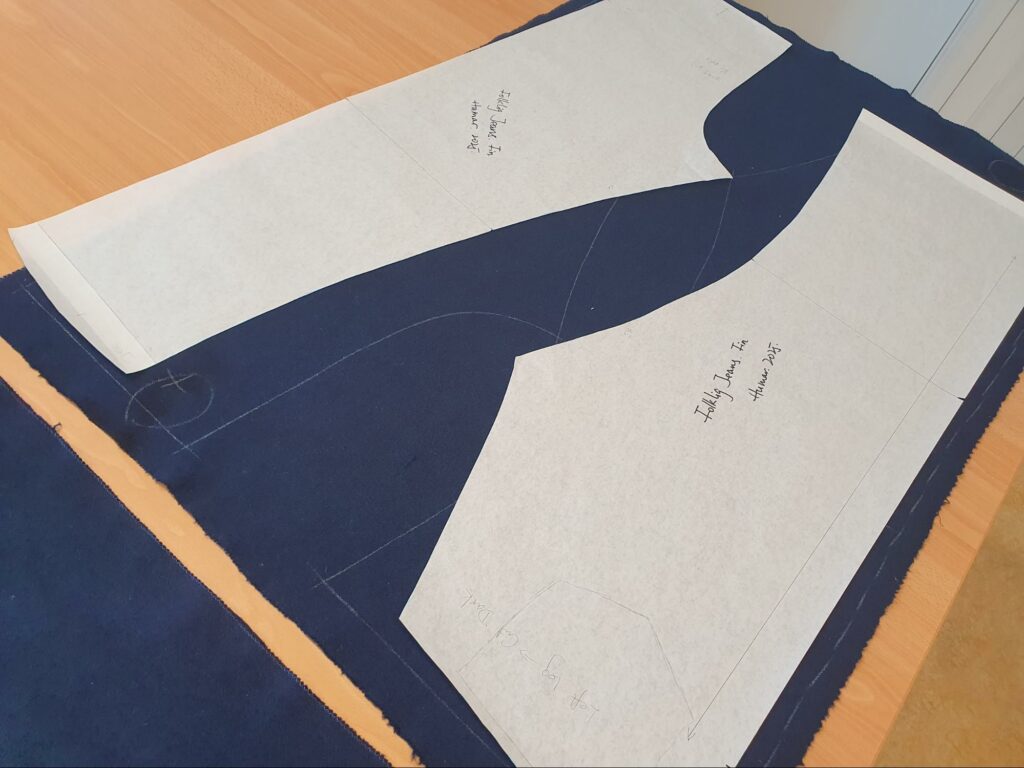
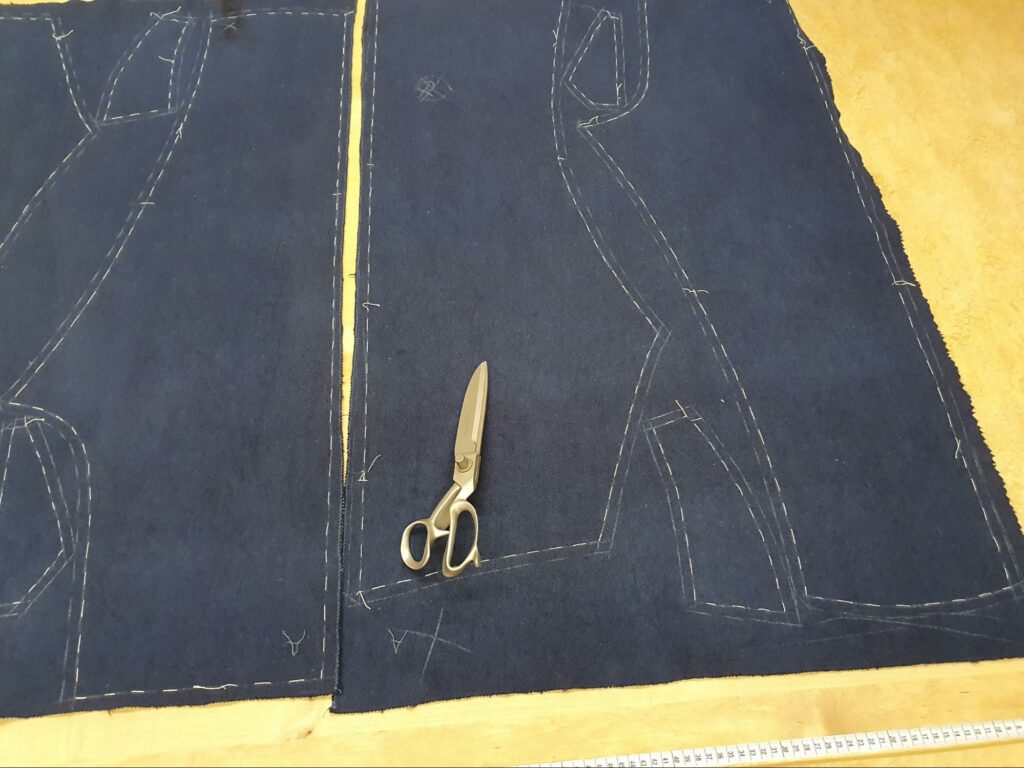
An obvious option would be to cut all the big pieces out with extra seam allowances and work from there. But results from the second test dye gave me pauses: the edges of test 2 turned out to be way darker than the rest, it’s also concerning that the tips of back and front fork won’t hold well during the dye process, never mind trying to even out the color between four pieces. I ended up cutting the main fabric into two big pieces, each for a pair of front and back leg.
The fabric pieces were soaked in water overnight before the dyeing day, then washed with concentrated detergent from färgkraft. This step is important since wool is naturally water repellent and needs longer time to get fully wet. The detergent helps to wash off natural oil and/or chemicals added during the production process, so that the fibers are ready to take in color.
The final pieces still turned up different, but I had the option to arrange the pieces so it looked somewhat intentional, while also managing to avoid some of the dark spots on the fabric by carefully choosing the final layout. By the end, I only had one visible dark spot on one of the leg pieces.
Fitting, or enemy to lover with the diaper butt
One of the courses of year 2 at Sätergläntan is to fit and sew folklig knäbyxa for a customer of a typical AMAB (assigned male at birth) body. For folklig byxa, the cut at the crotch area is very different from modern trousers: a great amount of ease is needed at the seat for movement and comfort, the center back line is often entirely straight with a very short back fork, while the front fork is extended to form the crutch. I’ve been jokingly calling it “the diaper butt” and very much determined to cut this feature (if not a bug) out of mine. However, before making any big structural changes, I decided to make a version of the original in my size first.
The original user was probably a person of smaller frame, I had a good enough fit simply by adding some width at the outer seam of both back and front pieces, plus a bit shaping at center front and back. The back looked off to me, as expected. I was certain that I’d be able to fix it by adding a yoke and re-shape the fork: time to say bye-bye diaper butt!
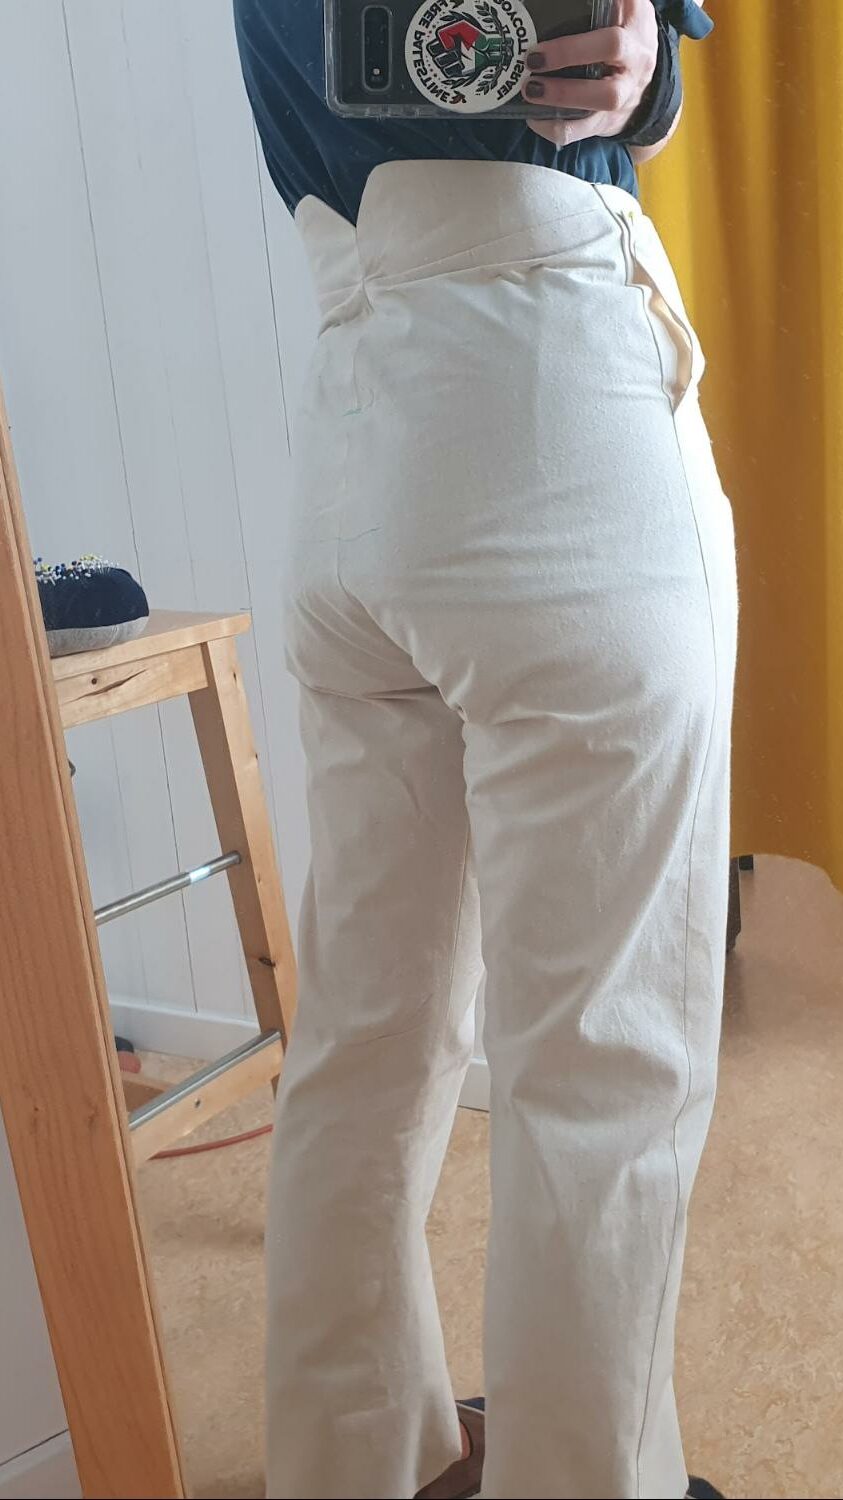
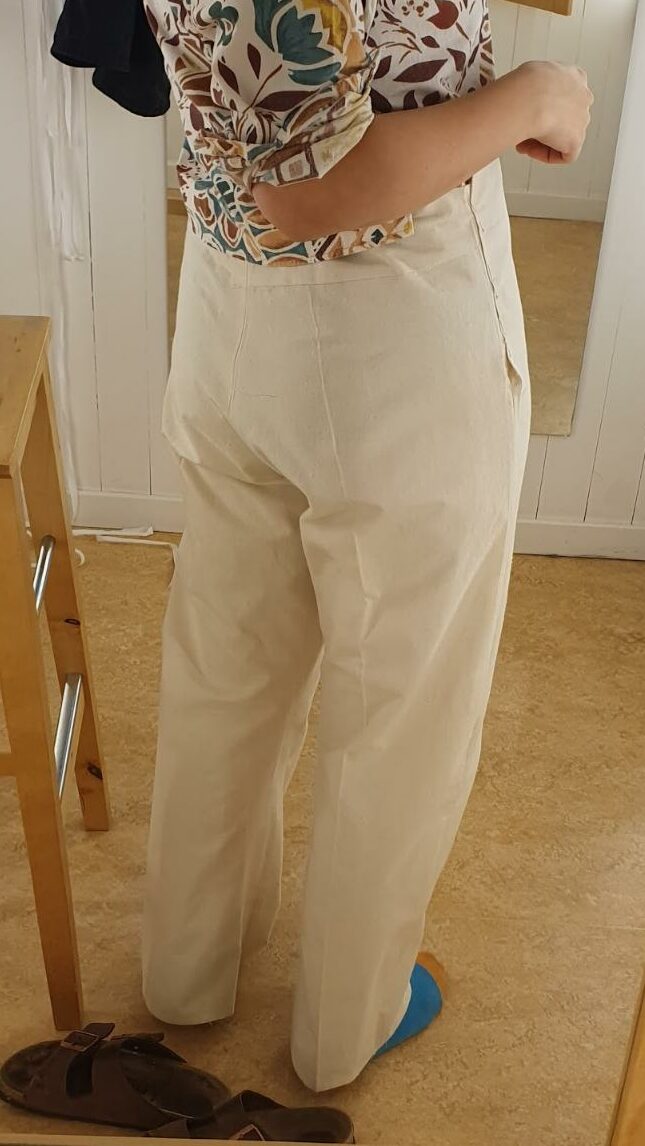
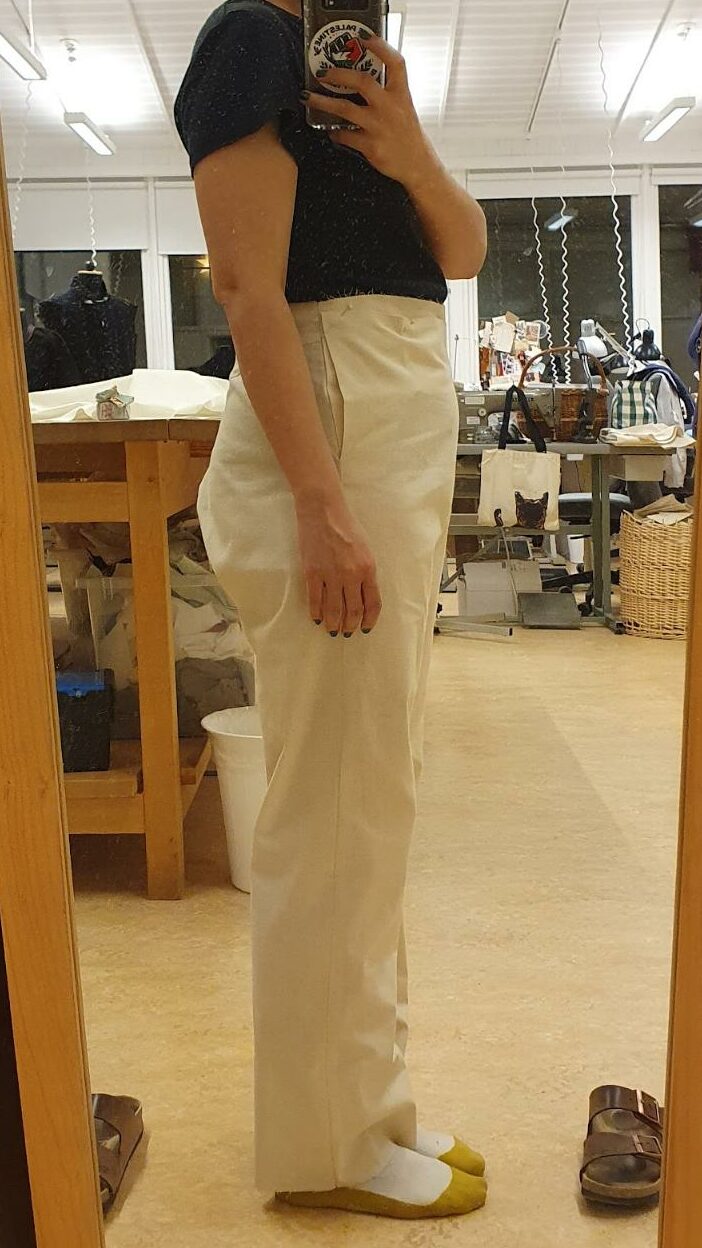
I re-shaped the back, the yoke provided extra ease needed around the hip. The fork of both pieces were shaped based on my modern trousers pattern from year 1. I was fairly confident that this time it’ll fit just fine.
However, a rush of discomfort hit me once I put on this version (see image 6-a). Do I really need my trousers to form a pair of cups for the buttcheeks? I never questioned this until given the option to not have it. What if, the diaper butt is not a bug, but a feature?
I decided to keep the diaper butt and spent two days to sew together a pair of trousers with some medium weight denim fabric, and was finally convinced that it is actually a feature, and I liked it.
Det är bara sy ihop
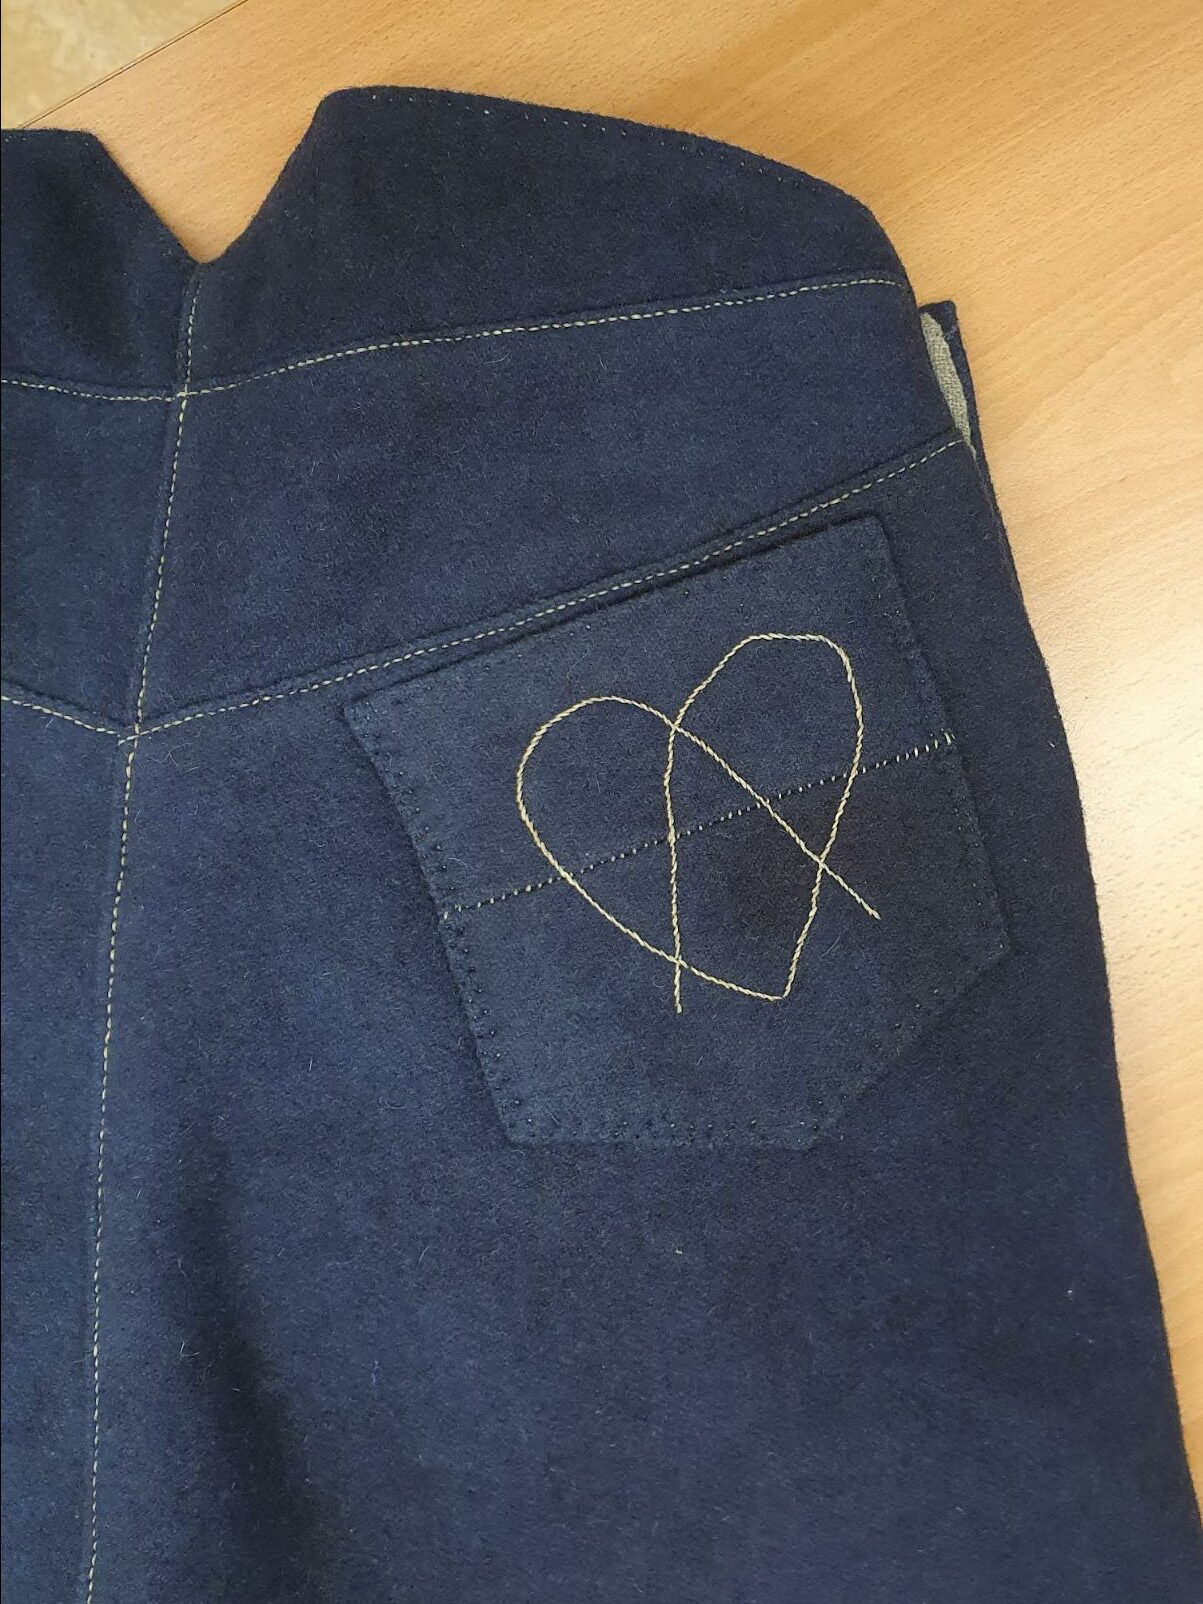
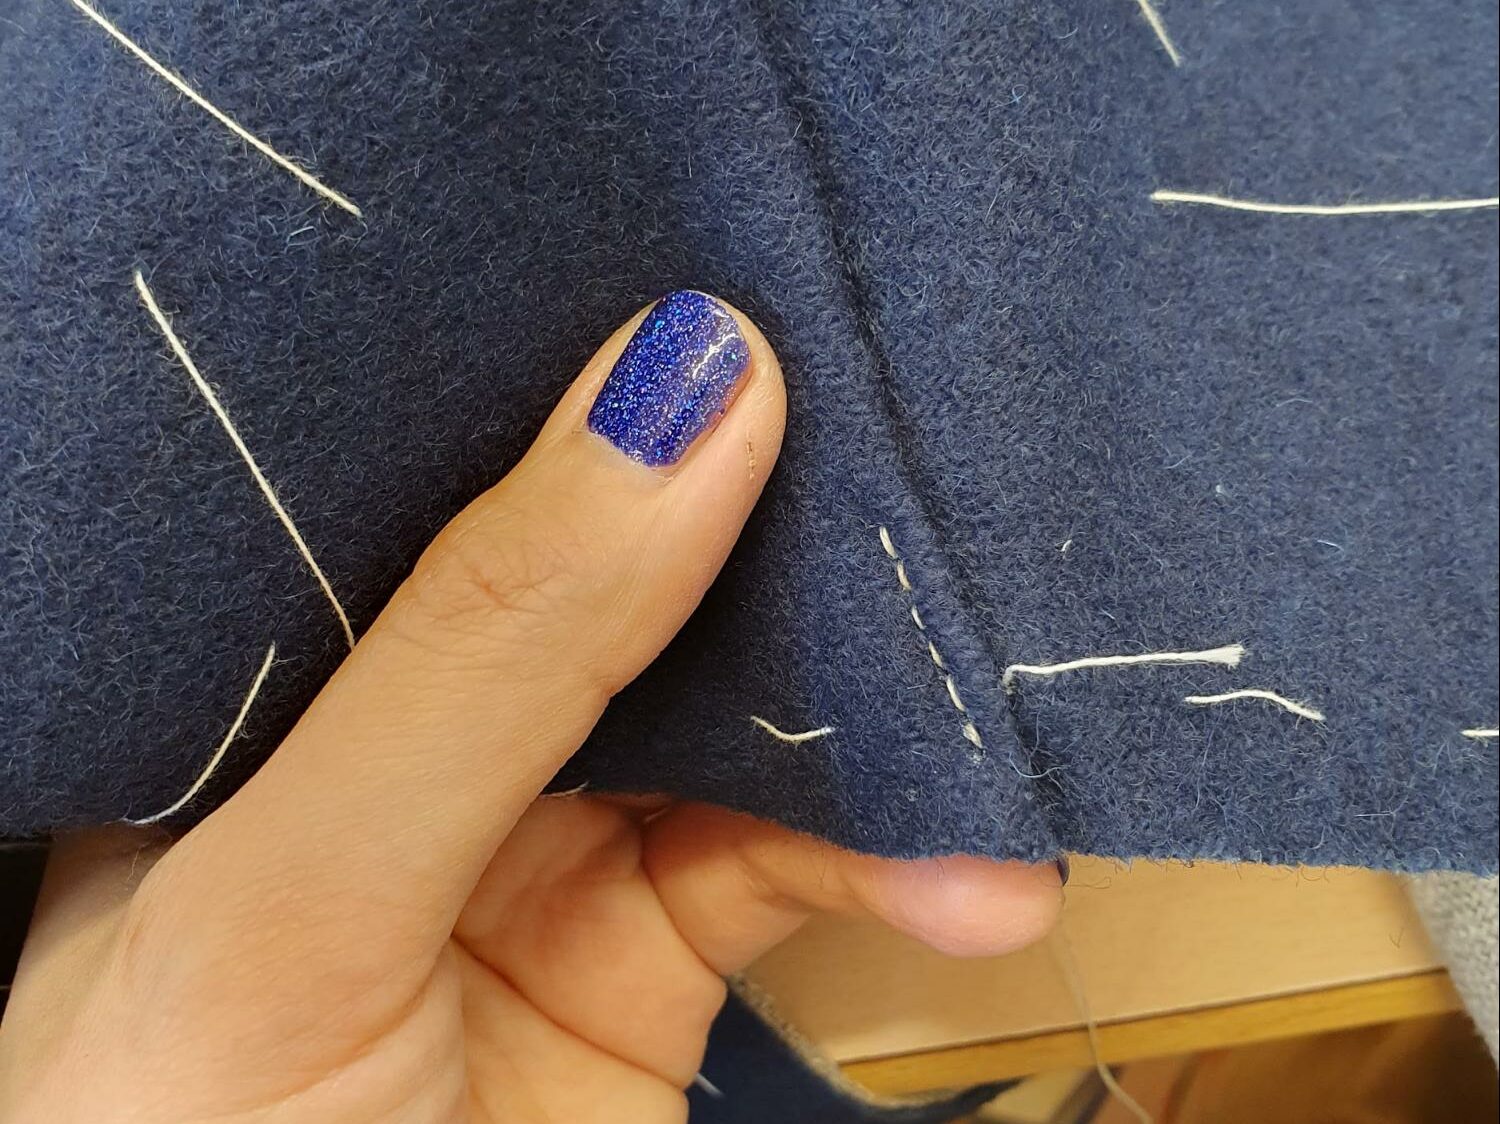
The sewing process is fairly straight forward. Most seams are sewn with shortened back stitches and then top stitched with back stitches seen from the right side. This particular combination of stitches is not used in any of our traditional sewing projects during my two years at Sätergläntan, neither is it a common way in working with wool fabric. However, the original pair was sewn mainly by this combination of stitches, which gives it a strong “jeans” look, so I decided to use this combination for my trousers.
The Flare
When it comes to the flare, although I didn’t have a stiff selvedge to get rid of, the general idea of making the outer seam lighter in weight still apply. I used simple back stitch to sew the outer side seam, pressed open and trimmed seam allowances.
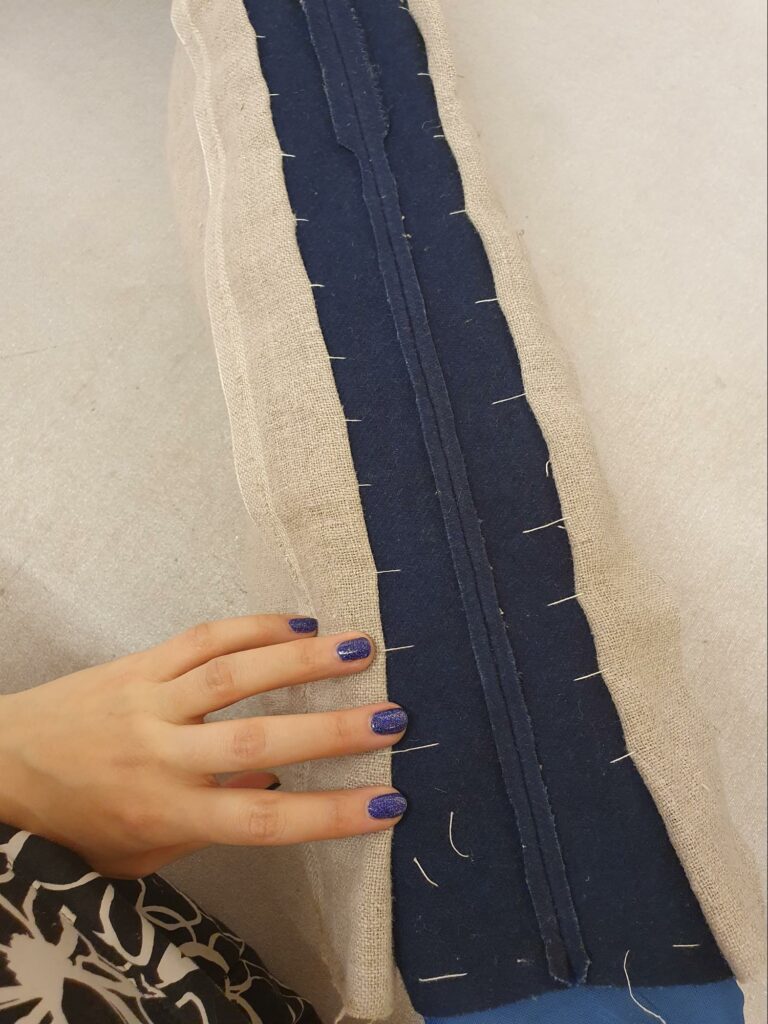
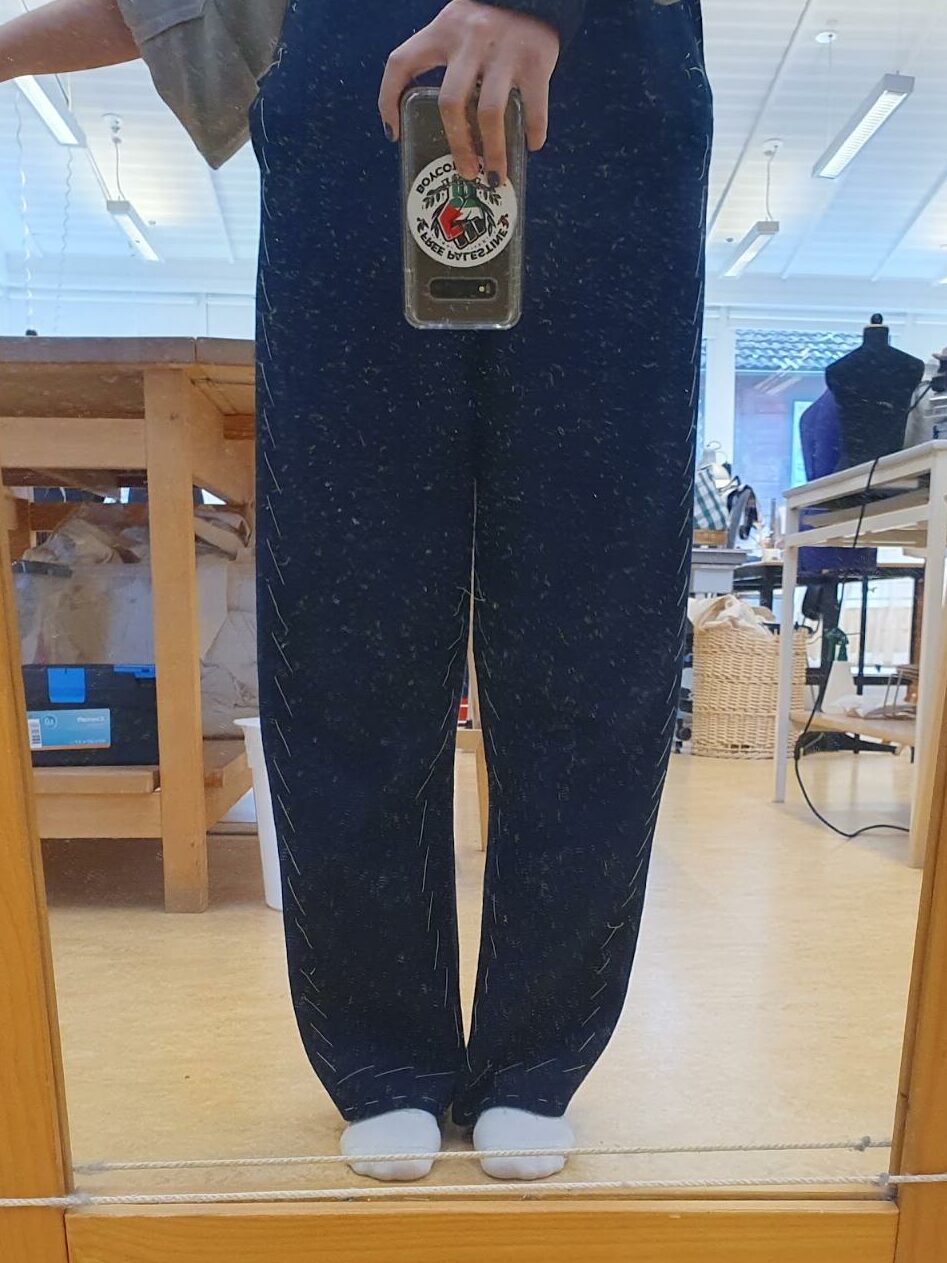
As seen in image 8-b, left side of the image is the side with trimmed seam allowance. The difference is very subtle but noticeable.
Pockets
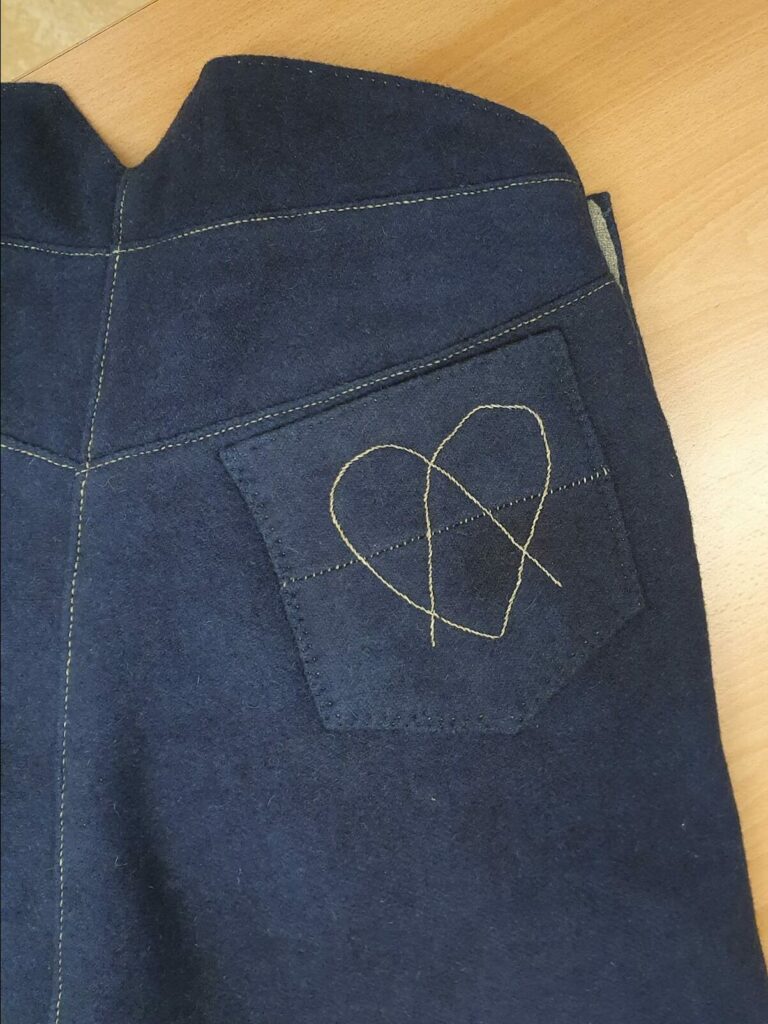
The original trousers doesn’t have any pockets; the traditional woolen trousers we have sewn have a small pocket on livgjord which then covered by luckan. Since this project is to imagine what would a sewer in late 1800s Dalarna make based on “overallen” brought back from California, and the patch pocket is a very noticeable feature of jeans made by Levi’s during that time period, a patch pocket is added to the right side in the back.
I had to piece together two off-cuts to make the pocket, and add stiff lining to keep the shape. It became necessary to add some decorative stitches in order to combine two layers of fabric together. The pocket was then sewn on by two rows of prick stitches. I didn’t use more visible stitches since there’s already a lot happening around the pocket, it didn’t need to stand out even more. Prick stitch was used for securing the flap of welt pockets when we made traditional men’s coats, so it felt natural to use it here.
The lining
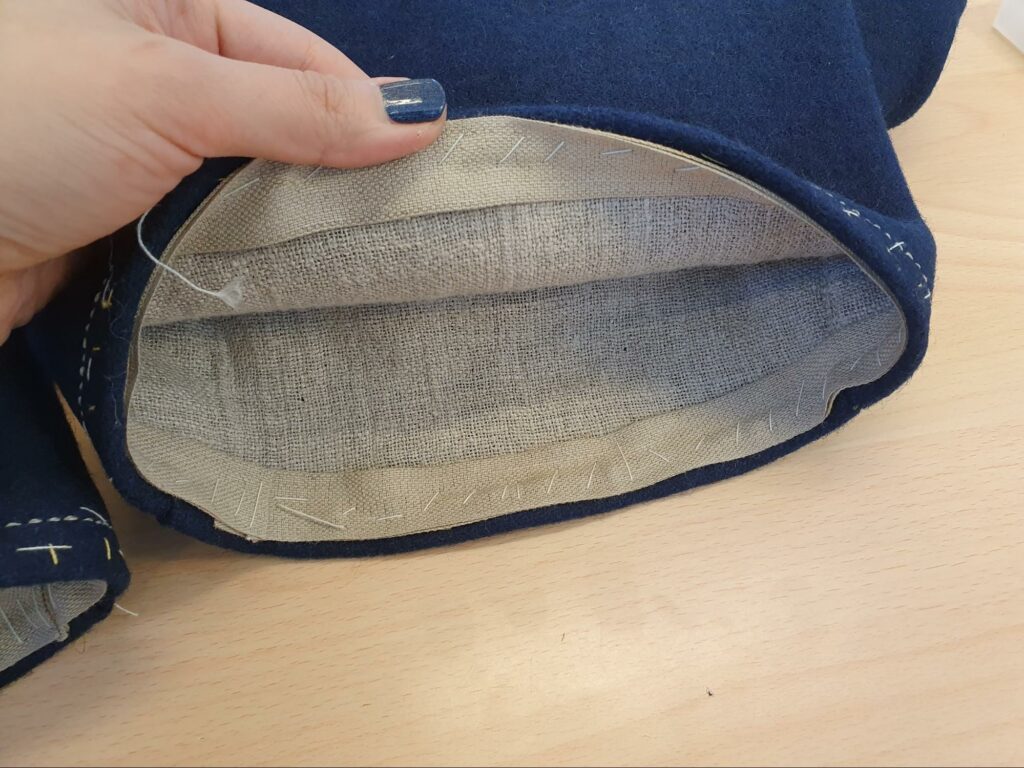
The traditional long trousers, if lined, would have the lining end at the knee point. I decided to use full lining for comfort and stability. This then posed the question about hem finish: I didn’t have any traditional method of hem finish for trousers to refer back to. Well, what is a hem of a trouser’s leg if not a tiny mini hem of a skirt? So the hem was finished with a combination of methods: decorative back stitch for jeans-look, a woven band covering the raw edge of up-folded hem like one would do finishing a traditional skirt hem.
The buttons
I bought some old buttons from a big thrift store in Gothenburg this year. Most of them are metal dome buttons of different sizes commonly used in folk costume sewing. I didn’t feel bad digging through the entire button bucket for more than half an hour and taking all the metal dome buttons, since they’re not very suitable for modern sewing projects and I was probably the only one in that store who would actually end up putting them to use.
The downside of thrifting buttons is that you don’t find many matching ones, I managed to dig out some sets of 6 buttons, but that’s also as good as it went. The original trousers used 6 buttons for closure, then 4 extra for suspenders. I extended the side opening for fit, so I had to add one button on each side to close it properly. I ended up needing 8 buttons for closure: 2 for center front, 6 for the rest.
Instead of buying an entirely new set of buttons, I opted for using 6 matching dome buttons for front flap closure, and two heavier buttons from the other set for the center front. The center buttons also have slightly longer shank, which made closing the center a bit easier, since the second center button needs to go through two layers: livgjord and the front flap together.
And here is the finished garment 🙂